Showing posts with label makeup. Show all posts

Thursday, 23 February 2012

I did a Bride's Make up!

Last Friday (the 17th of February) my boyfriend's step-sister got married and I was tasked with doing her wedding make up. I was incredibly nervous about doing it as I've only ever once done another person's make up from scratch (I have done eye make up for others several times). I only got to practice the day before the wedding at 11pm as the bride lives around 2 hours from me and I'm too poor to travel at the moment (as it was my first attempt at wedding make up and she's a member for the boyfriend's family, I was doing it for free). I just thought I would share with you how I went about it and the results of my work (bearing in mind I am self-taught and not a professional!).

I did the make up to the brides brief; it was her day and I complied to her wishes, as best I could. I started with a primer to keep the make up in place for as long as possible and kept the foundation light by mixing it with moisturiser as the bride wanted her skin to look like her own, just more evened-out. I applied it using my beauty blender at first, then switched to a buffing brush to really work it into the skin. A pearly-pink highlighter (Benefit's High Beam) was added to the high points of the face - cheekbones, nose bridge and cupid's bow. I filled in the brows very lightly with powder to keep a soft and more natural look. A cream blush (MAC's Lady Blush) was applied primarily to the apples of the cheeks and blended back slightly to create a nice shape on the cheekbones. I applied a pressed powder with a fluffy brush and a light hand to matte any shiny areas, but keeping a nice healthy glow at the same time. I applied a primer to the eye, then a warm, subtle brown to the crease (not seen in the photos as she has her eyes open), before adding fairly natural-looking fake lashes as the bride requested some. The bride originally wanted black eyeliner on the top lid to hide the lash-band, but when I showed her the softer method of blending a charcoal grey shadow along the lash line she preferred it, and that's what you can see in the photo's below. That's it! She looked gorgeous, and not because of my make up application - nothing can fake the glow a bride has on her wedding day. I hope you enjoyed this run-down! The picture at the end is how I looked on the day for anyone that is interested. I had a 40s style shift dress on with nude tights that had the black seam up the back so as to be in keeping. I had my cloche hat on originally that's the same colour as my dress, but I took it off after the ceremony. There are no other photographs of me as no one took any (I'm not really a family member, I suppose) and I was busy taking them of everyone else!


Friday, 10 February 2012

Emma Stone Golden Globes Look

I attempted to film a tutorial on the make up that Emma Stone wore to this years Golden Globes, however the video had a lot of technical faults - like the sound being muffled for some reason and bad lighting - and on reflection I feel that I didn't get the eye make up right as hers was a slightly darker, more feline shape (it looked the same on camera but the lighting of the photo's is different and so I wasn't pleased once I saw the footage and photo's side by side!). As a result I decided it wasn't good enough to upload to my channel. I did however decide to show you a picture here so that it wasn't a complete waste of time.

This look was done using the Sleek Bad Girl palette mostly. Very simple to do and gives a lovely sultry smokey eye. Enjoy! Emma's make up can be seen below...yes, as I said, I'm aware they are nothing alike but in the lighting I was working with they did look the same, until I used the flash for the photo's! Hence why good lighting is important.

Thursday, 2 February 2012

Hearts are for breaking

 Hello lovely reader!

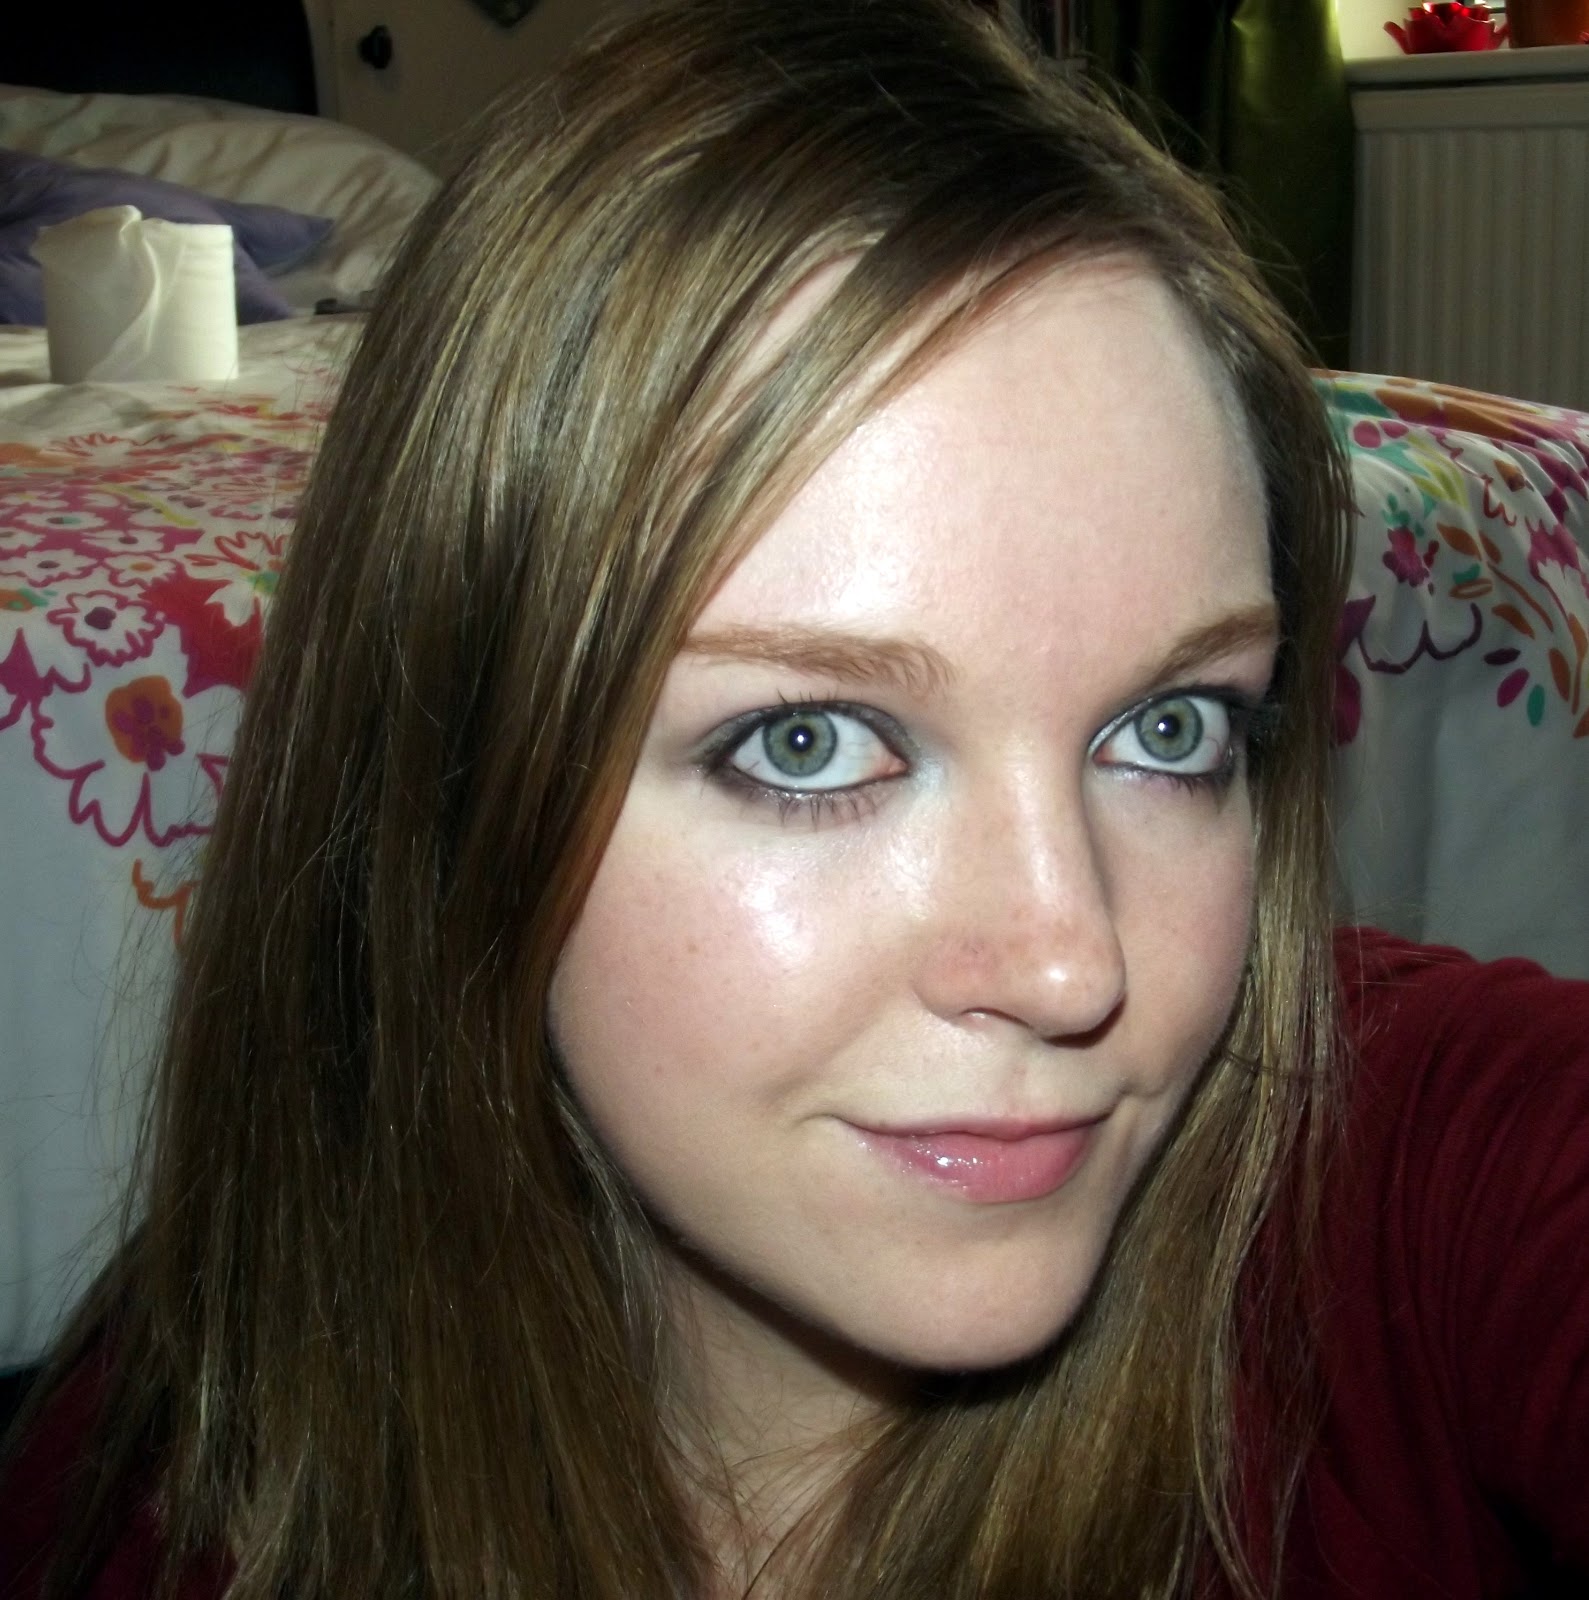
It would appear as though everyone on YouTube has done a Valentine's makeup look and I sort of hate myself for jumping on the bandwagon. However, in my defence, I didn't do any for Christmas or New Year's. I am by no means a professional and I'm sure some of you think I have a cheek to do tutorials at all, which is why I haven't done one in a little while. I like seeing professionals and hobbyists looks and how they created them, so that is the only reason I make tutorials for others. Some might also think I have no right having a make up and fashion related blog as I'm not exactly super-model shaped, but as I've said before, I feel variety is important and by looking at my blog you can see that big-busted and jelly-bellied women can still be into fashion and try to look their best. Either way, I really hope you get something out of my YouTube channel and my blog, even if it's only a laugh because I have one ear that sticks out more than the other.

Without further ado, the point of this post! I shall be uploading a Valentine's tutorial to my YouTube channel tomorrow and here is a sneak-peak at the look I came up with: Black winged eyeliner, red crystal hearts and red lips. Simple but does the trick and doesn't involve red eyeshadows on the eyelids - I know some people faint at the mere thought of putting that shade anywhere near their eyes! It certainly isn't the most flattering of eyeshadow shades as pictures of my formerly emo/goth self prove (no, I don't think I'll post them here!). For those of you without a Valentine this year, I hope you will accept my sincere Valentine wishes! I love you just for reading this post and if you want to make my Valentine's day (as I fear the bf may forget!), then please leave me a lovely comment below. What is your most memorable Valentine's day? Mine is probably last year when the bf bought me a Tiffany necklace!

Happy Valentine's Day for the 14th! :)


Tuesday, 15 February 2011

Fire makeup


This is the make-up I created for a competition being run by beckysblog on you tube. You had to create a look inspired by one of the four elements. Quite obviously, this is a fire inspired look! This was the first ever dramatic make up look I attempted.

Update: Three years later and I still think I did an alright job considering I was a complete novice. As you may be able to tell from the photograph I hadn't perfected base make up application by this point. I still haven't perfected it, but my base tends to look a heck of a lot better now than it did back then!

Products used:
NYX jumbo pencils in milk and cherry
A38 'Rocket Yellow', AA6 Ruby Red pigments from Love Makeup
Manic Panic Blush in Vampire Red
Orange shadow from the Beauty UK palette
Avon Supershock Gel Eyeliner
Eyelure Girls Aloud collection lashes (Sarah)
The red diamanté are from a local craft storePosted by Picasa